Start Digital Scrapbooking will take you from just your photo and blank screen in Photoshop Elements and walk you step-by-step through the process of building a layout. You’ll follow along using the supplied files and in the end you’ll print out your finished page! You’ll be thrilled at how simple it is to create your own… [Continue reading]
How to Adjust Face Tilt in Photoshop Elements
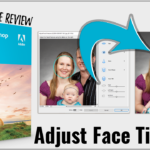
If you have a photo where people are not quite looking at the camera, you’ll love this new feature. Watch to see how easily you can adjust faces in Photoshop Elements 2021 and newer. How to Adjust Face Tilt You can adjust the angle and rotation of faces inside the Adjust Facial Features dialog box.… [Continue reading]
How to Make a Digital Scrapbook Page
If you are keen to have some no-mess creativity in your life, you could also try your hand at digital scrapbooking. The basic process is similar to the Project Life app but with more creativity! [Continue reading]
Use the Brush Tool in Your Digital Scrapbooking
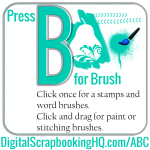
I know that many of you are looking for more information about how to best use the brush tool in your digital scrapbooking. Here is a collection of my favorite brush tutorials! [Continue reading]
Can you find a photo of your grandparent’s home in less than 10 seconds? I can!

Are you inspired to tell the stories of your family’s favourite getaway? Would you love to share the story behind a local landmark? Telling stories about your childhood home, your town, and your travels can be complex, if you are dealing with photos from multiple cameras. Time moves on and you can’t quite remember where… [Continue reading]
New Features in Photoshop Elements 14 Organizer
It’s no secret that I love Photoshop Elements Organizer. I’ve created several classes to show you how to manage your photos and digital scrapbooking supplies in the Organiser. New User Guide Now when you first open up the Organizer there’s an improved guide for new users. It walks you through getting started in Organizer and explains… [Continue reading]
How can I use the dodge and burn tools?

I’ve been gathering some questions from you – so let’s jump straight in and answer one! One way I use the burn tool is to “ink” the edges of papers that I’ve clipped to a template. For example on this template from The Daily Digi, I’ll use it on the scallops: Before: After burning the edges at… [Continue reading]
How to Write Metadata in Photoshop Elements Organizer
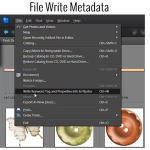
It’s easy to save your work and write your metadata to file in Photoshop Elements [Continue reading]
Disconnected Files in Photoshop Elements Organizer
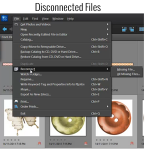
Moving Your Files Have you moved any of your files outside of Photoshop Elements Organizer? Maybe you moved some of your digital supply file folders at a time when you weren’t using Organizer. Organizer won’t automatically recognize the move. When you next use Organizer, you may get a message that some files were “disconnected”. Here’s… [Continue reading]
Get Your Supplies from Organizer into Editor
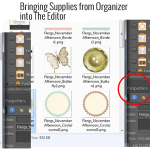
Can I open my files from within Photoshop Elements Organizer and get them into Photoshop Elements Editor? You certainly can and there are several ways to do it. You can select an element from within Organizer and in the panels on the right hand side of your screen, down toward the bottom, you’ll see… [Continue reading]